
How to English Paper Piece
According to Wikipedia, English paper piecing is a method of patchwork where fabric is wrapped around paper shapes made of thin paper cardboard or heavy paper. Once the shapes are wrapped and basted, the sewer will hand sew the shapes together one at a time until the shapes become an intricate design. Centuries old, English paper piecing is one of the most common forms of hand work in quilting. The technique makes piecing all sorts of difficult geometric shapes easy to master.
While there are numerous shapes that quilters use for English paper piecing (EPP), the most common shape used is the hexagon. For the purpose of this blog post, we will be using the hexagon in my instructions.
Choose the basic size of hexagons you will be using. Paper foundations can be purchased precut to the size you want or you can make your own template. Be sure to use sturdy paper and accurate cutting when making your own.
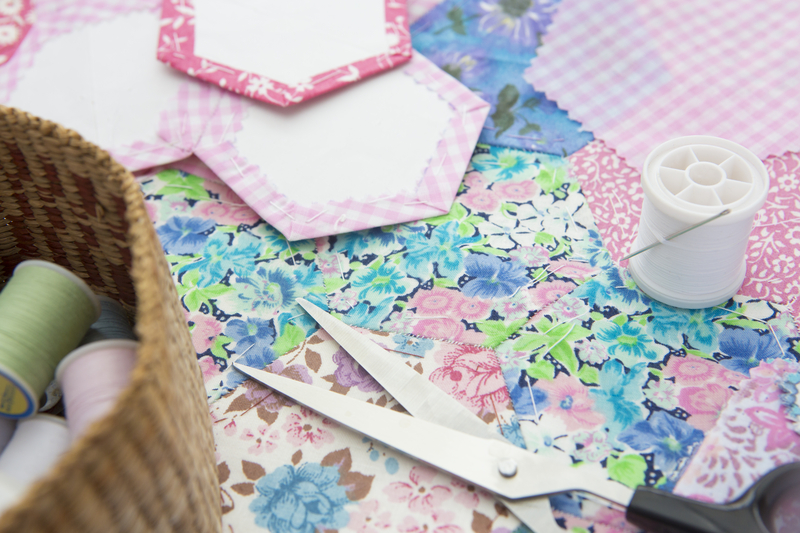
To prepare your fabric, pin a paper template to one or more layers of fabric. Cut around the template leaving 1/4″ seam allowance on all sides. Your seam allowance does not have to be exact but try not to leave too much excess
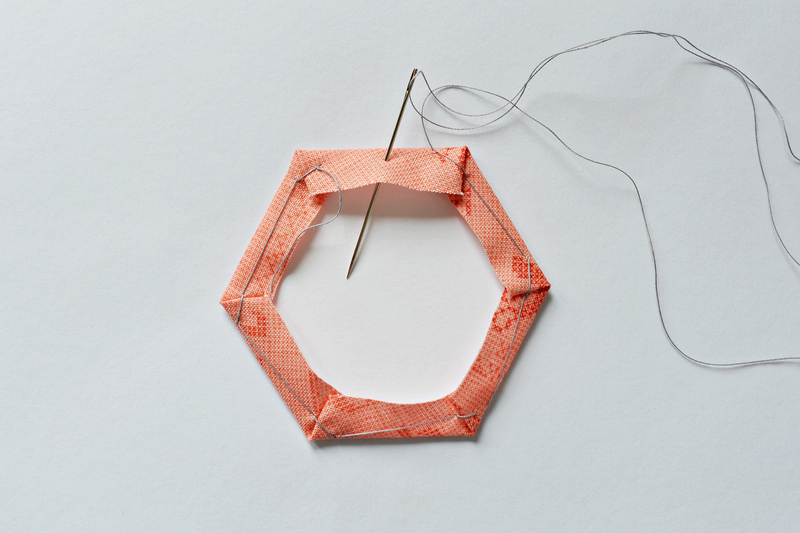
To thread baste templates, place the template on the wrong side of the fabric in the center of the fabric. Place a knot in your thread. Fold one side of the fabric seam allowance over the paper template as pictured above. Sew your first stitch through the fabric being sure to not catch the paper. Repeat this step for all sides of the hexagon, using long basting stitches, as pictured below.
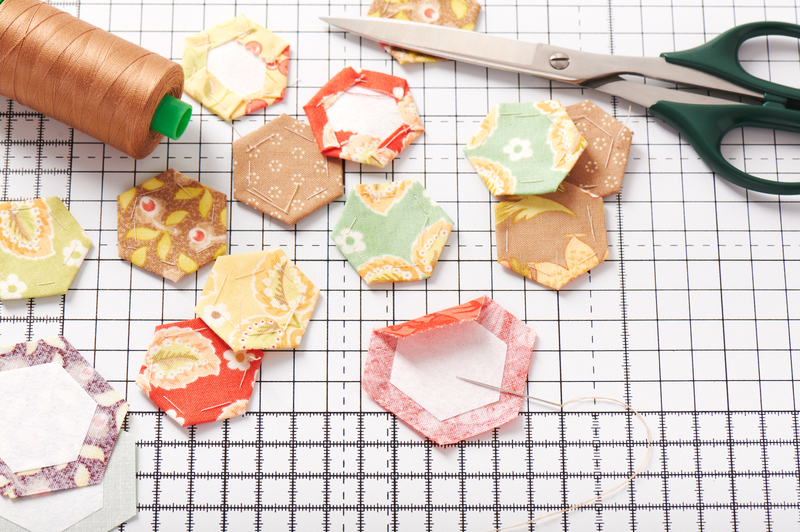
Once all sides are basted, use an anchor stitch before cutting your thread. Baste as many hexagons as needed for you project. The basting stitches can easily be removed once all sides of the hexagon have been permanently stitched around.
Another method of preparing the hexagons is glue basting. Preparing the fabric and template for this process are the same as for hand basting. Instead of stitching the fabric in place, use a fabric glue stick. Swipe across one side of the template with the glue pen and fold the fabric down. Repeat for all sides. Use only enough glue to hold the fabric in place. Using too much glue may make the paper template hard to remove and could even damage the fabric.
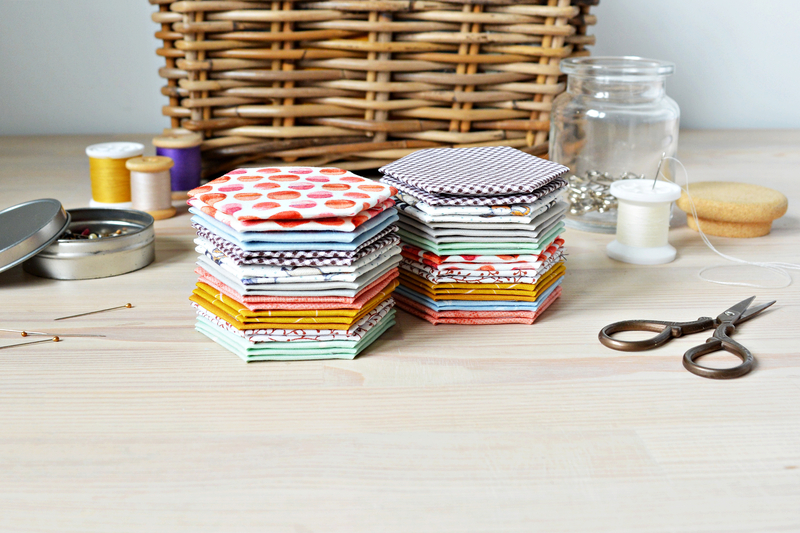
Try both methods and see which one your like the most. They both will give you beautiful results. English paper piecing is a very portable project that can be done anywhere. Make as many hexagons as needed to complete your project. I collect mine in a basket until I am ready to start my project.
Sewing the hexagons to create your pattern design is very simple. Place right sides together. Stitch the pieces to one another using a very small whip stitch, just catching the edges of the fabric. I recommend using a thread that blends with the fabrics so that the stitches disappear. Some quilters remove the paper once all the sides of a piece have been sewn and some prefer not to remove the paper until the whole quilt top is finished. Find the method that works for you. If you remove the paper pieces carefully, they can be reused several times.
For more detailed instructions on English paper piecing I suggest two Youtube videos that go into great detail on English paper piecing. The first video is by designer Tula Pink. Her instructions are excellent. She covers both thread basting and glue basting with lots of great tips on both methods. The second video is by Kate Jackson from The Last Homely House channel. Kate has a series of videos on English paper piecing using the thread basting method. Her quilts have a modern flair and are great examples of EPP. These videos will not disappoint.
I would enjoy seeing your English paper piecing technique or your EPP projects. Send me an email or comment below.